Français
 English
 Deutsch
The ideal window for cleft grafting runs from March to May, though you can start earlier under glass depending on your region and the weather.
I start mine in early February, for instance, if the forecast is good for the coming fortnight. The scion needs warmth to break bud.
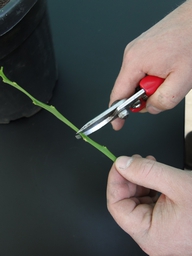
Once the rootstock starts into growth, water it generously. A few days later you can graft. Begin by disinfecting the secateurs and the grafting knife, then prepare the rootstock by cutting it fairly high with the secateurs (anvil upwards). To check that the sap is running well enough, try lifting the bark at the cut with the grafting knife:
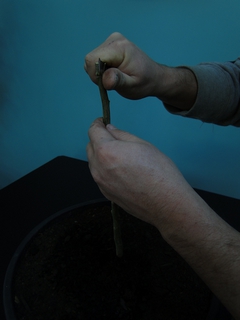
If the bark tears and leaves fibres, it is better to wait another few days or weeks. If it lifts cleanly, prepare the rootstock by removing thorns and leaves with the secateurs (anvil on the side away from the stem).
Now prepare the scion with a wedge cut, leaving 2 or 3 buds:
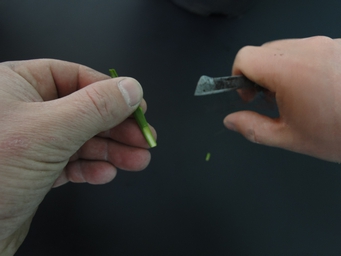
Many growers apply the Buddy Tape after grafting because it is quicker. I put it on beforehand, so the scion cannot shift once it is seated — I am in no hurry. Wrap the scion in Buddy Tape, pulling it taut, and leave the cut surface free:
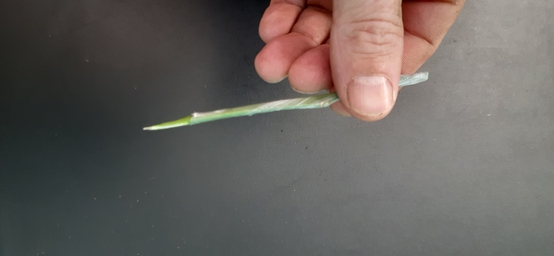
Choose the height on the rootstock so that the diameters match (easier when starting out), then split the rootstock with the grafting knife:
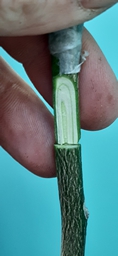
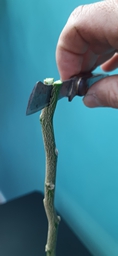
Where the rootstock is thicker, you can set the scion off to one side:
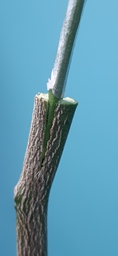
Another option is to offset the split so that the chord of the circle (remember your geometry) is exactly the width of the scion. You can then also cut the scion asymmetrically to centre it further, although that is not essential:
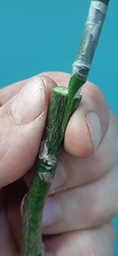
Or even to make the split just under the bark, as in a bark graft:
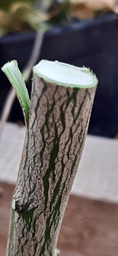
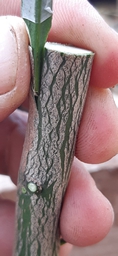
Whichever you choose, seat the scion in the split so that the cambium layers meet.
Pinching the union between your fingers, apply the Buddy Tape to the rootstock (many growers put the Flexibande on first):
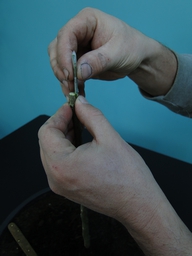
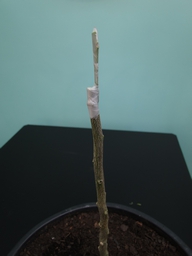
Take one turn with the Flexibande, passing over the first turn, then a second turn passing underneath to lock it. Keep pinching the scion in the split and wind the Flexibande upwards under firm tension, then tie off with the spare length at the bottom:
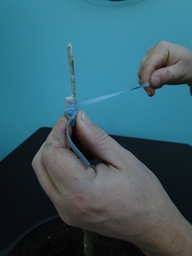
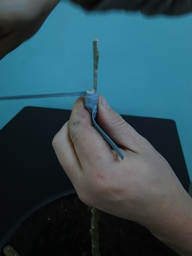
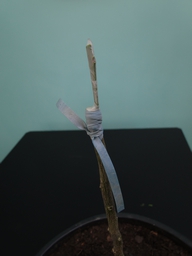
The graft is done. Remember to disinfect the secateurs and the grafting knife before moving on to the next one.
Over the next three to four weeks the scion will either dry out (turning black) or break bud. In that case the bud is green and swells until it pushes through the Buddy Tape — no intervention is needed:
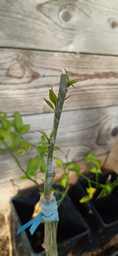
In the meantime, rub out every shoot on the rootstock:
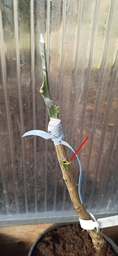
After the first flush you can cut the scaffold branches back to 5 leaves. After the second flush, cut the new growth back to 5 leaves as well, to build the framework of the tree.
After the first winter, as growth resumes in February or March, remove any new shoots below the graft union.
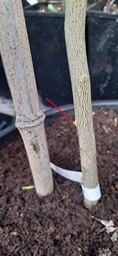
If the shape of the tree is not satisfactory, the grafted part can be cut back hard; new scaffold branches will form:
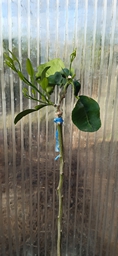
Remember too to release the Flexibande and Buddy Tape if they have not broken down on their own (too many layers), so that they do not strangle the union.
And finally, after that glorious flowering, you must force yourself to remove EVERY fruit: