
 Français
 English
 Deutsch
The ideal window for bark grafting runs from April to July, though you can start earlier under glass depending on your region and the weather.
This guide is shorter and covers the bark graft only. The fuller cleft-grafting guide describes exactly the same steps.
Once the rootstock starts into growth, water it generously. A few days later you can graft. Begin by disinfecting the secateurs and the grafting knife, then prepare the rootstock by cutting it fairly high with the secateurs (anvil upwards). To check that the sap is running well enough, try lifting the bark at the cut with the grafting knife.
If the bark tears and leaves fibres, it is better to wait another few days or weeks. If it lifts cleanly, prepare the rootstock by removing thorns and leaves with the secateurs (anvil on the side away from the stem), then make a cut with the grafting knife:
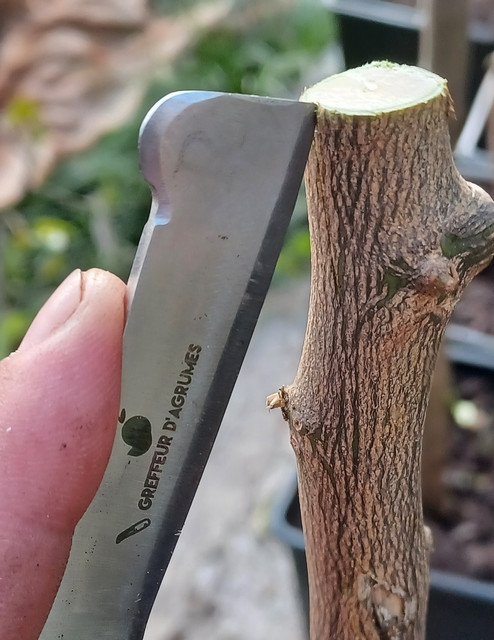
Some growers bevel the rootstock so that it matches the shape of the scion better when the cut is not flat.
Now prepare the scion (here finger lime) with a wedge cut, leaving at least 3 buds — more if the rootstock is thick:
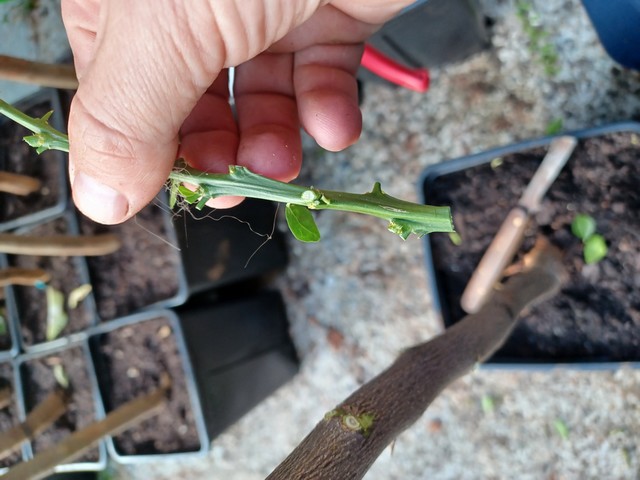
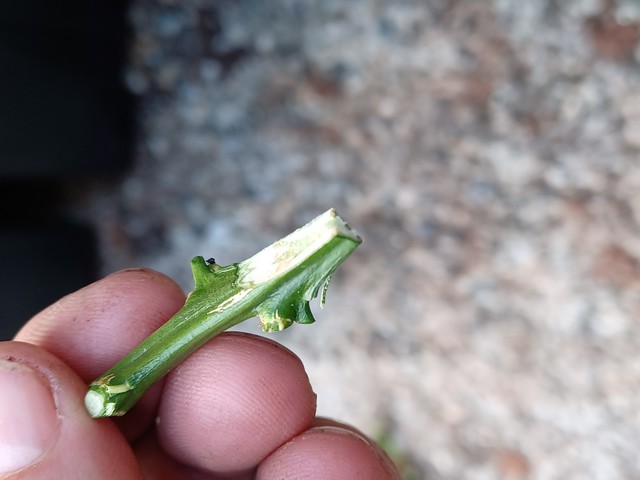
The scion is then slid under the bark:
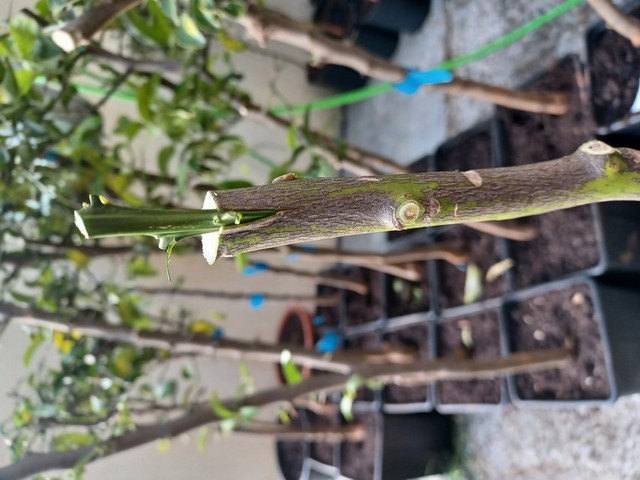
Hold the scion in place with the Flexibande, leaving the free bud uncovered if there is one, then wrap the whole union in Buddy Tape.
On very thick rootstocks (over 4 cm, say) I insert two or three scions:
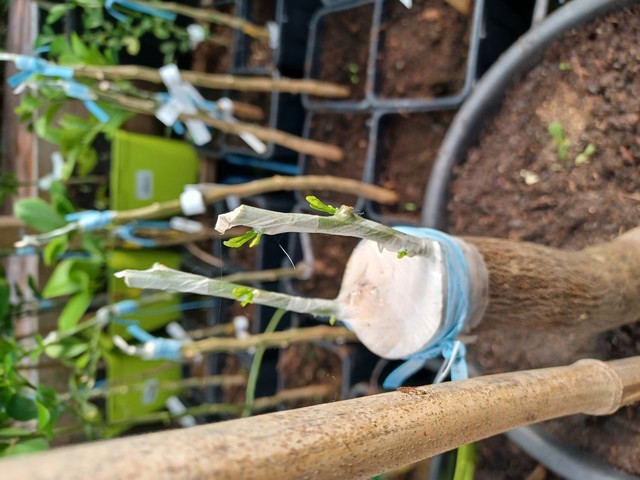
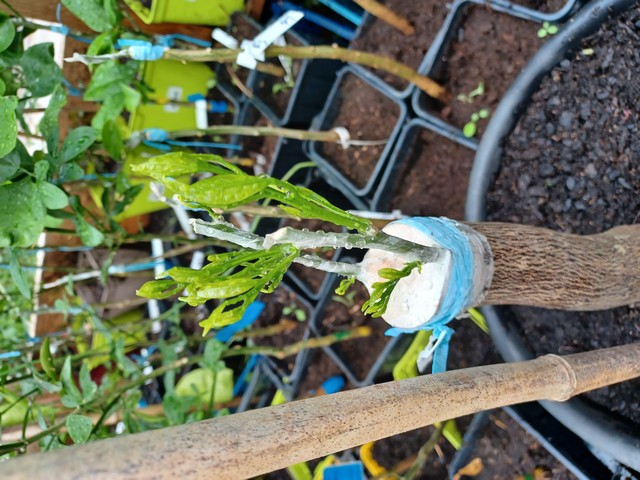
The weaker scion is then cut back to one bud after each flush, so that callus forms and the wound closes over as quickly as possible.