

 Français
 English
 Deutsch
Chip budding means taking a single bud from the scion with a sliver of wood (the "chip") and fitting it into a notch of the same shape cut in the rootstock. Its two advantages: it can be done all year round and it is sparing of scion wood, with just one bud per graft.
At a glance
- Who it is for : home growers with little scion wood; the technique takes practice.
- When : all year round. Done in autumn, the bud may take several months to break.
- Scion : the thickness of a pencil and fairly round; one bud per graft.
- Equipment : secateurs, a grafting knife, Buddy Tape, Flexibande and 9% bleach to disinfect your tools.
- Time needed : about 3 minutes per graft for a beginner, 30 seconds for a professional.
- Afterwards : cut the rootstock back above the bud once it has broken.
On this page : Step by step · Common mistakes · Aftercare · Equipment and plants
Preparing the rootstock and the scion
1Disinfect your tools
Disinfect the secateurs and the grafting knife before you begin.
2Prepare the rootstock
Remove leaves and thorns up to the point where you want to graft. Leave some growth above it to act as a sap-drawer.
3Choose the scion
Get scions of a sufficient diameter: the thickness of a pencil and fairly round (left in the photo). Triangular scions (right) are a little harder to cut cleanly at first.
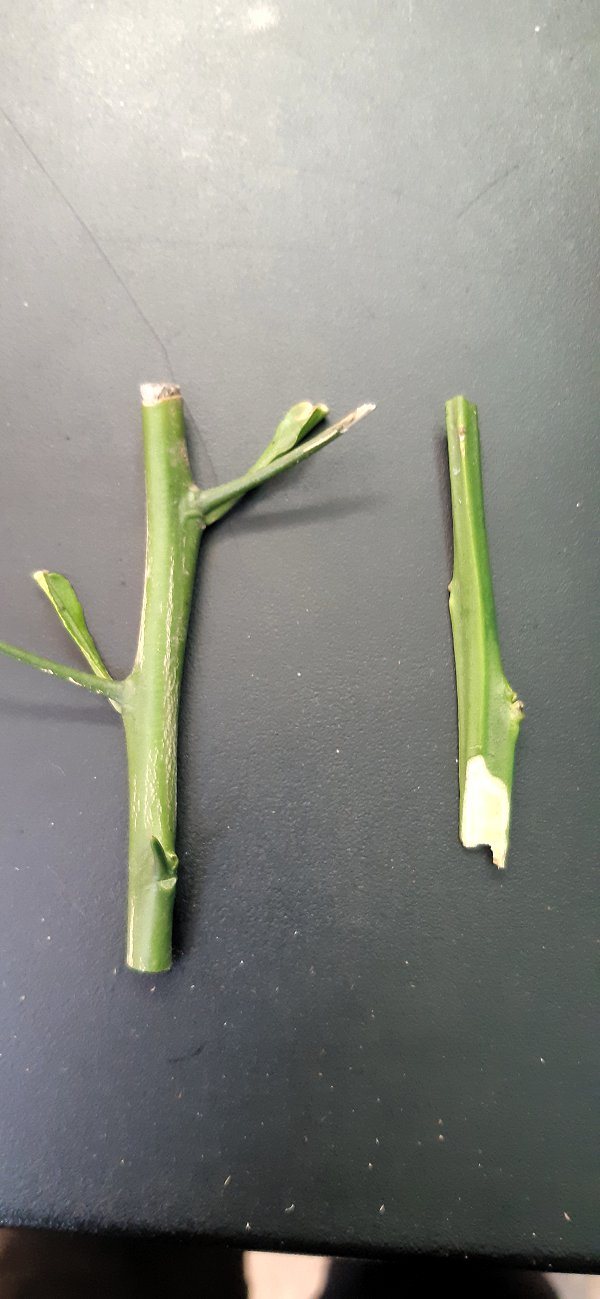
A round scion on the left, a triangular one on the right.
4Clean up the scion
Remove the thorns with the secateurs, taking care not to cut the bud. Snap the leaf stalks off by hand.
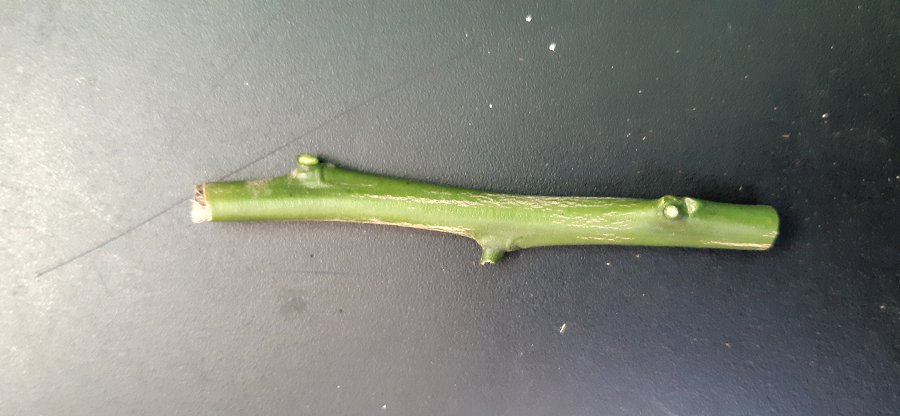
The scion cleaned up, thorns and leaf stalks removed.
Cutting the chip
5Go into the wood
Take the bud with the grafting knife: angle the blade at first to go into the wood, then bring it back parallel to the axis of the stem.
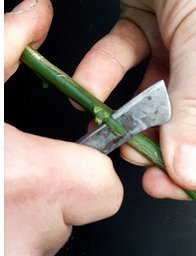
The angled blade goes into the wood.
6Pass the bud
Passing the bud is the trickiest part: take care not to slip. A slight bump often forms.
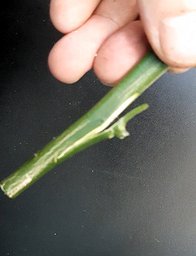
Passing the bud, with its slight bump.
7Free the chip
Cut the bud out at a fairly shallow angle, almost parallel to the axis: the area of cambium in contact will be larger.
Either way, there is no need to remove wood from under the bud.
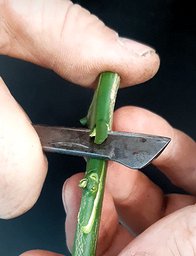
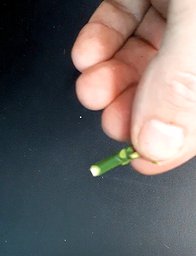
The last cut, then the chip ready.
8With a triangular scion
With a triangular scion you need to go deeper into the wood so that the chip is wide enough.
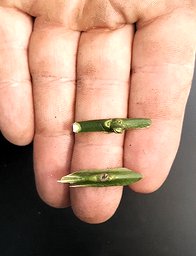
Chips in the hand.
Notching the rootstock and fitting the chip
9Notch the rootstock
The chip is ready; move on to the rootstock and make the same kind of cut. The thicker the rootstock, the less pressure you need: stay near the surface to get the same width as the chip, while still reaching the cambium.
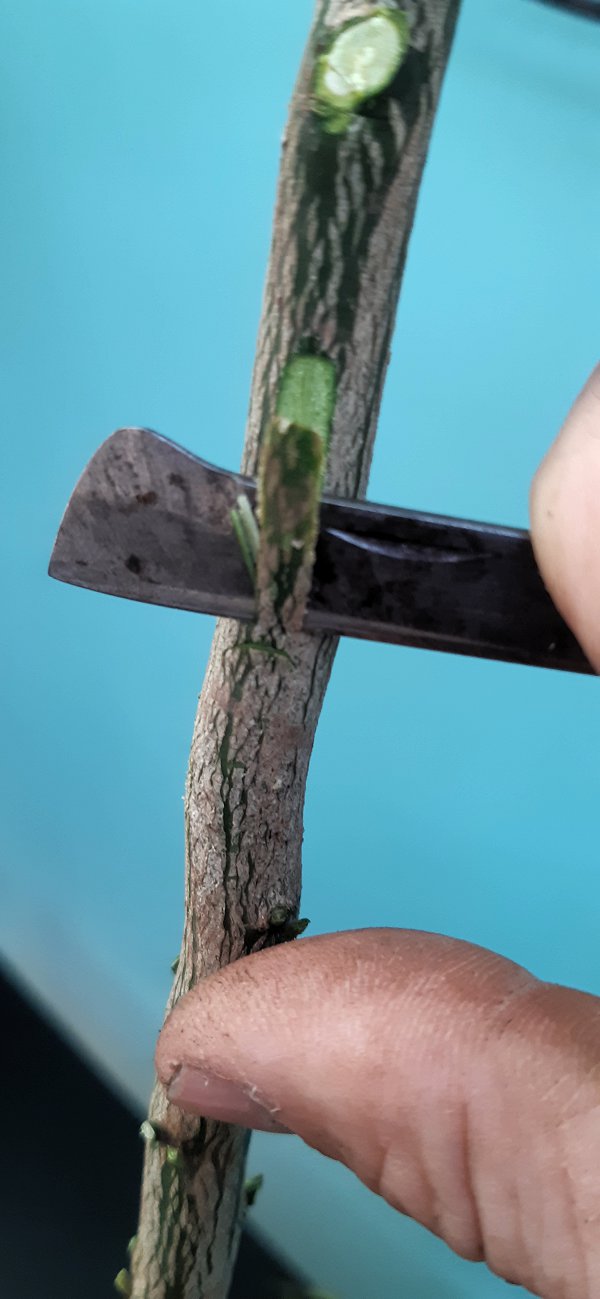
The notch in the rootstock.
10Adjust the last cut
Lay the chip on the cut so you can make the last cut to the right size, at the top of the white sloping part.
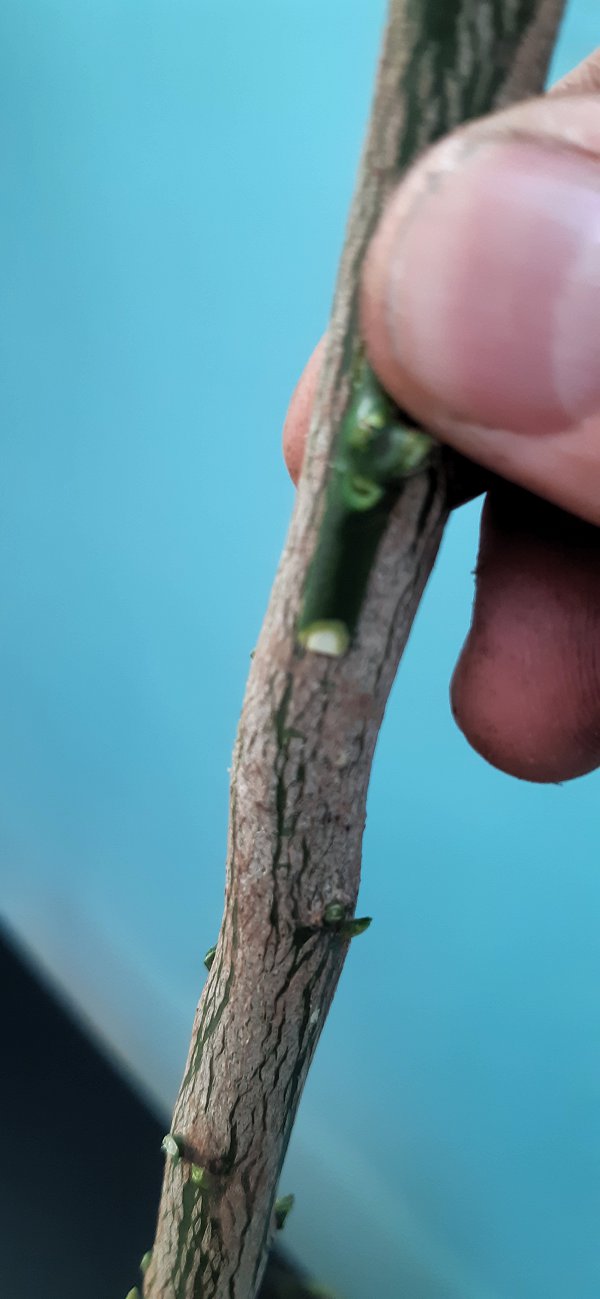
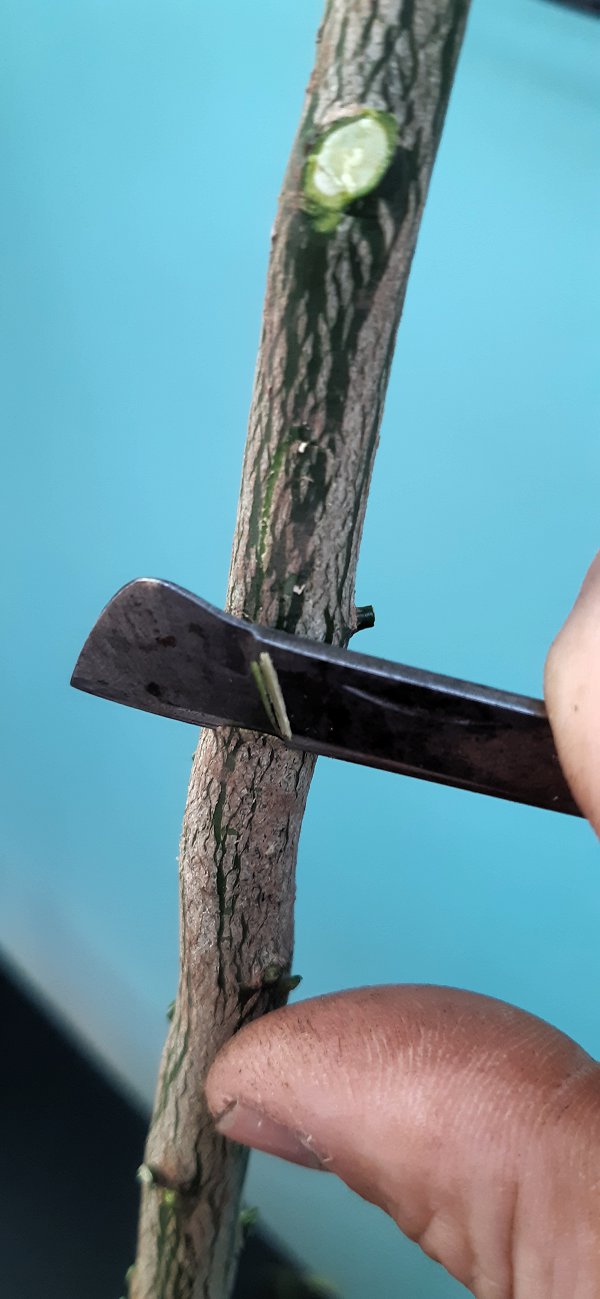
Measure with the chip, then cut.
11Fit the chip
Remove the bark and fit the chip into the notch.
Ideally the chip matches the shape perfectly: that takes hundreds of grafts! If the chip is smaller than the notch, you can set it against one side, but the graft is less neat.
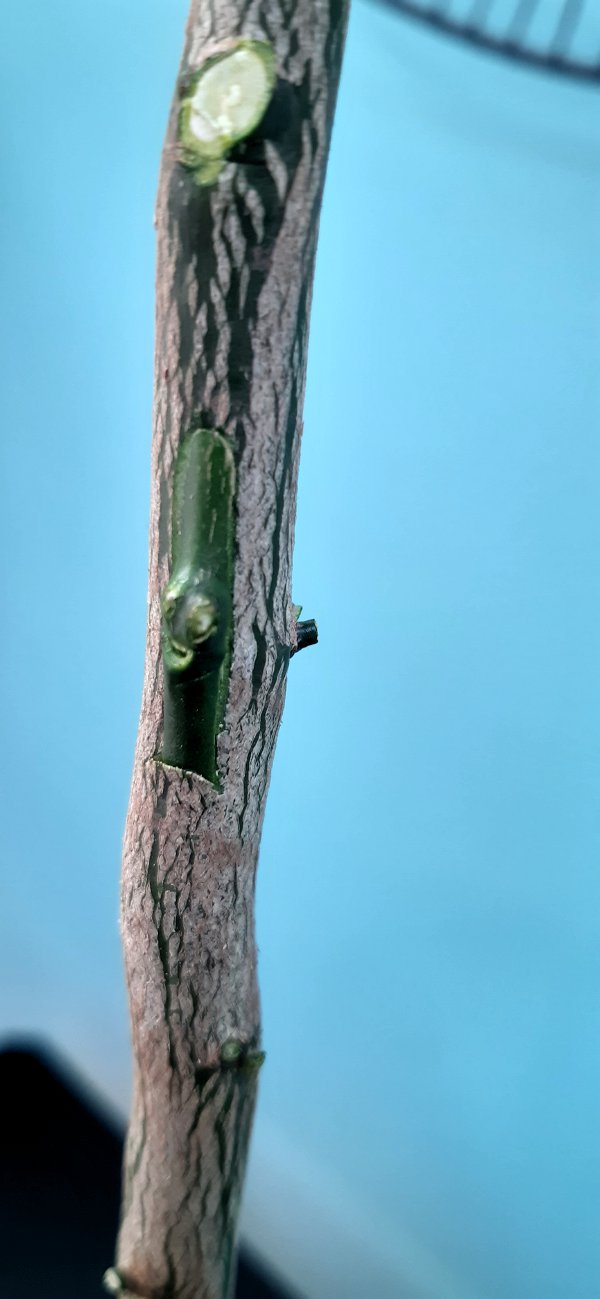
The chip in place in the notch.
12Apply the Buddy Tape
Wrap the Buddy Tape over the graft, pulling it taut.
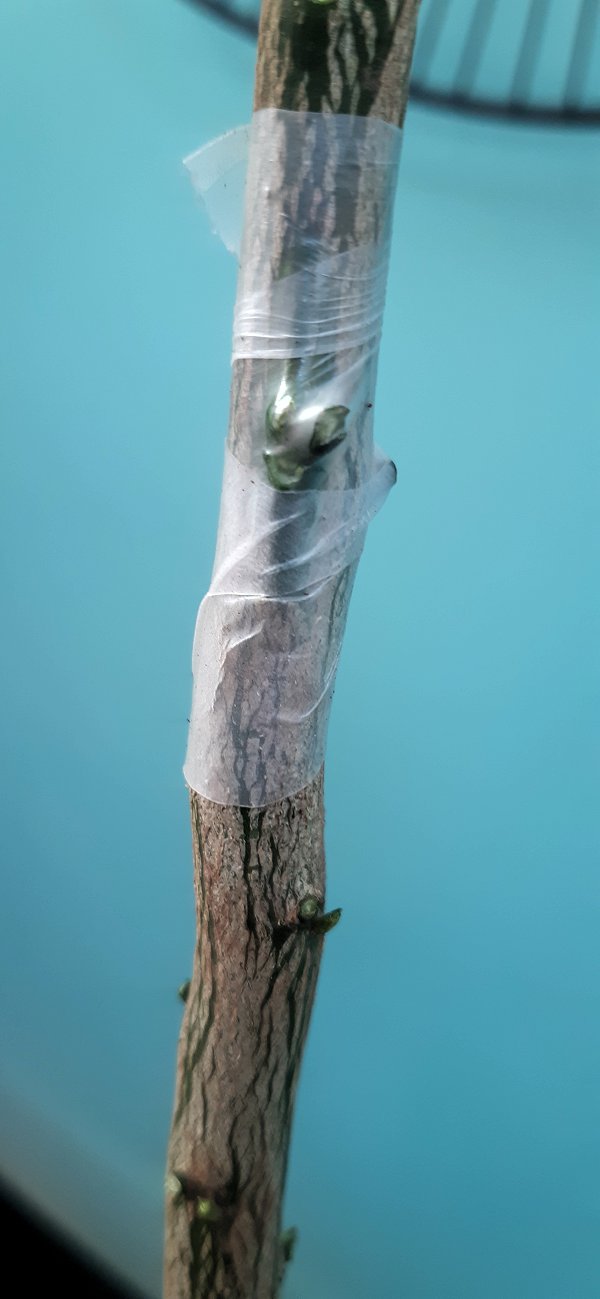
Buddy Tape pulled taut.
13Apply the Flexibande
Put on the Flexibande without covering the bud.
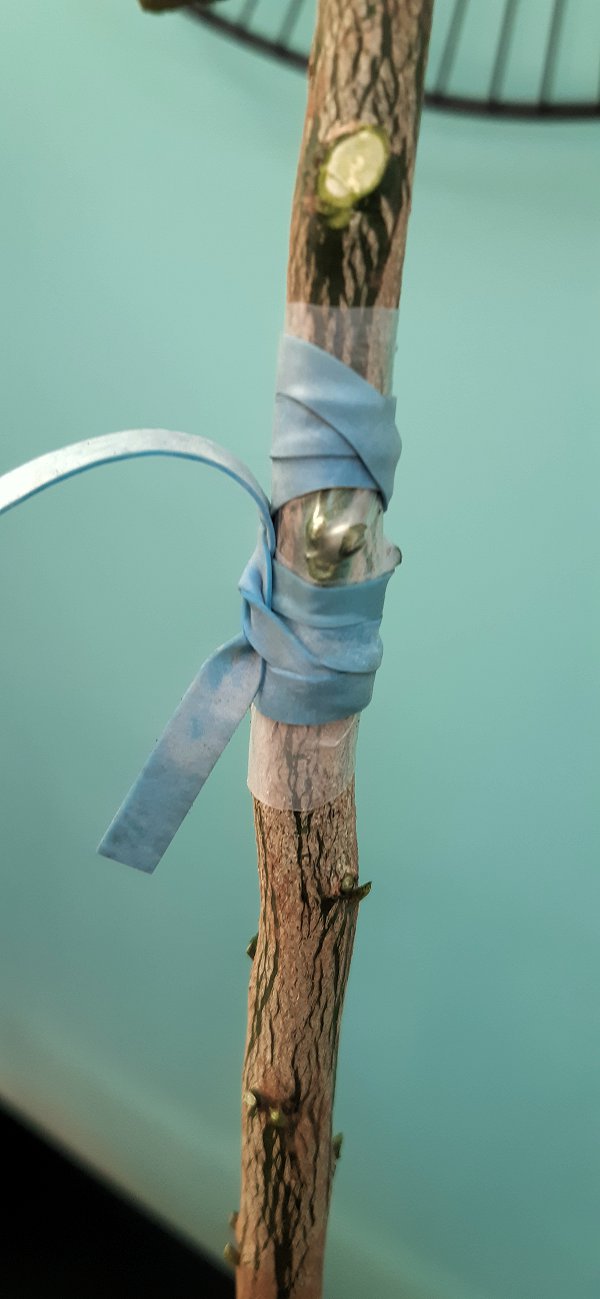
Flexibande, bud left clear.
14Disinfect before the next graft
The graft is finished: disinfect your tools and move on to the next one.
To practise
At first, practise on cherry branches: thin ones for the chip, slightly thicker ones for the rootstock.
Common mistakes and how to avoid them
A scion that is too thin
Choose scions the thickness of a pencil, fairly round.
Cutting the bud while removing thorns
Cut the thorns carefully with the secateurs and snap the leaf stalks off by hand.
Slipping as you pass the bud
Slow down there: that is where the cut is hardest.
Too steep a cutting angle
Cut almost parallel to the axis: the shallower the angle, the larger the area of cambium in contact.
A chip too narrow from a triangular scion
Go deeper into the wood.
Too deep a notch on a thick rootstock
Press less and stay near the surface, but reach the cambium.
A chip and notch of different sizes
Lay the chip on the cut before the last cut, to match the length.
A bud covered by Flexibande
Apply the Flexibande without covering the bud.
Aftercare
Once the bud has broken
Cut the rootstock back at a slant, 2 to 3 cm above the bud. If you grafted in autumn, the bud may take several months to break.
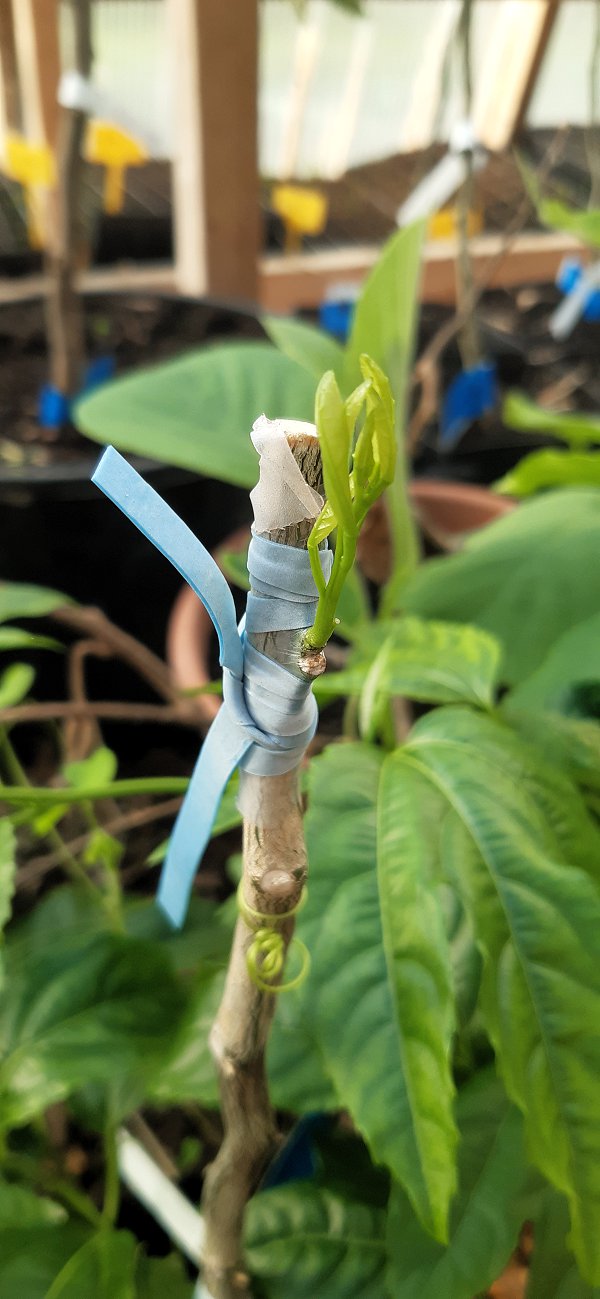
The rootstock cut back above the bud.
Then
Remove every shoot below the graft union.
A month later
The shoot from the chip has grown well.
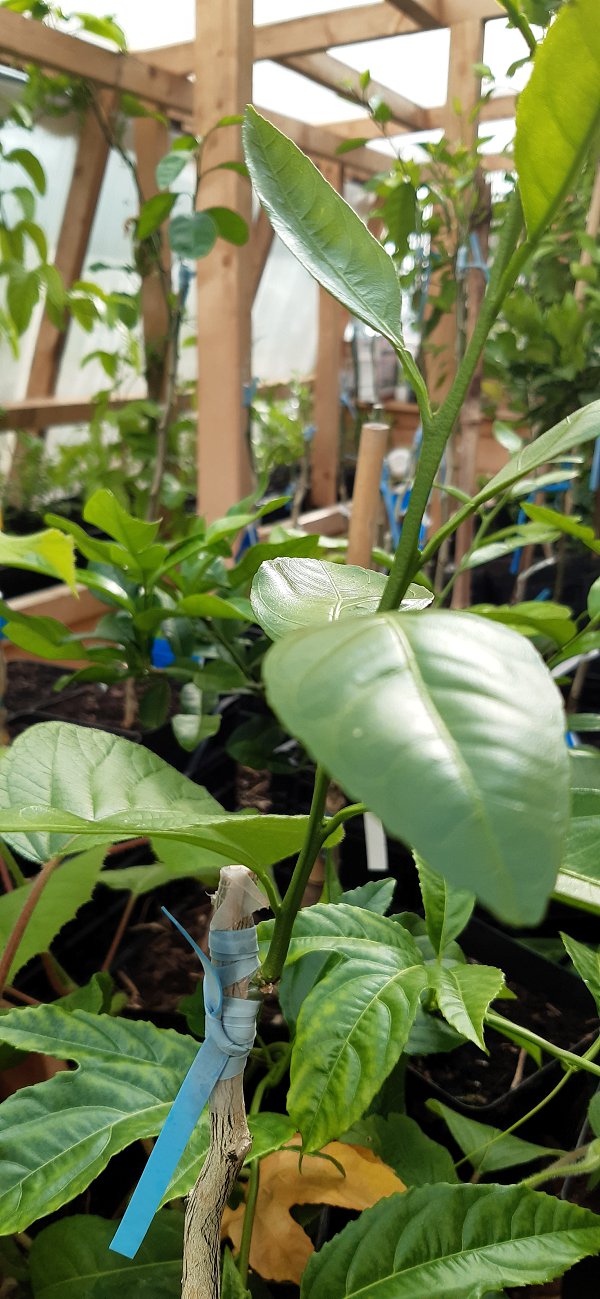
One month later.
The rest (formative pruning, releasing the ties, the first fruit) is the same as for the other grafts: see the aftercare section of the cleft grafting tutorial.
Equipment and plants for grafting
- Grafting kit : Flexibande, pre-cut Buddy Tape and identification labels, for 20 or 50 grafts.
- Grafting knife : single bevel, for a right-hander pulling or a left-hander pushing.
- Rootstocks : the nursery's rootstocks.
- How to choose a rootstock : to pick the right rootstock for your area.
Other tutorials: cleft grafting · bark grafting · whip-and-tongue grafting · raising rootstocks from seed · growing your own rootstocks
Ready to graft?
Rootstocks and the grafting kit are in the shop. A question about your graft? Get in touch.